Dutch Braid is popularly known as a cousin of French Braid, also known as Boxer Braid. It is an elegant hairstyle, wherein you can have a double Dutch braid or a single one. Many celebrities love to have a Dutch Braid hairstyle. It is popularly known as inverted French braid as the braid is above the hair instead of lying below in normal French braid. You might get confused as it seems to appear tedious initially but is quite simple. A basic braid suit for longer hair; however, for people with short hair, a double braid looks even better.
Supply – Things needed to Make a Dutch Braid
Mirror Hair brush or comb Hair clip/clutch Hair spray Hair cream.Steps to Make a Dutch Braid
Step 1: Make Your Hair Clean And Nit
Before you start your hairstyle, clean your hair by washing them with shampoo and water. Dry your hair. Detangle your hair, and your hair is ready for the Dutch Braid.
Step 2: Divide Your Hair Vertically In Two Even Parts
Divide your hair into two even parts vertically. You can use a simple hair comb or a Rat- tail hair comb. Now keep one part of hair open and tie the other half part with a hair clutch. We will be braiding the open part first.
Step 3: Braid The One Part
Now start braiding the open hair. Take some hair from the top middle part. Divide the hair into 3 parts. One of these three parts should be from the front hair. Now start braiding with these three parts. Cross the right part over the middle. Then cross the left part over the middle part. Now add some hair to the right part and cross it over the middle. Similarly, add some hair to the left part and then cross it over the middle part.
Try to add the same amount of hair to get perfect and even braid. Do this through your hair length and secure the hair with rubber once you reach the end. Keep adding hair to the Braid until the hair in that half part is included in the Braid. Make sure the hair is straight without any lumps to get perfect Braid.
You will have the Dutch Braid on the first half side.
Step 4: Braid The Other Part
Now follow the same steps for the other side of the hair.
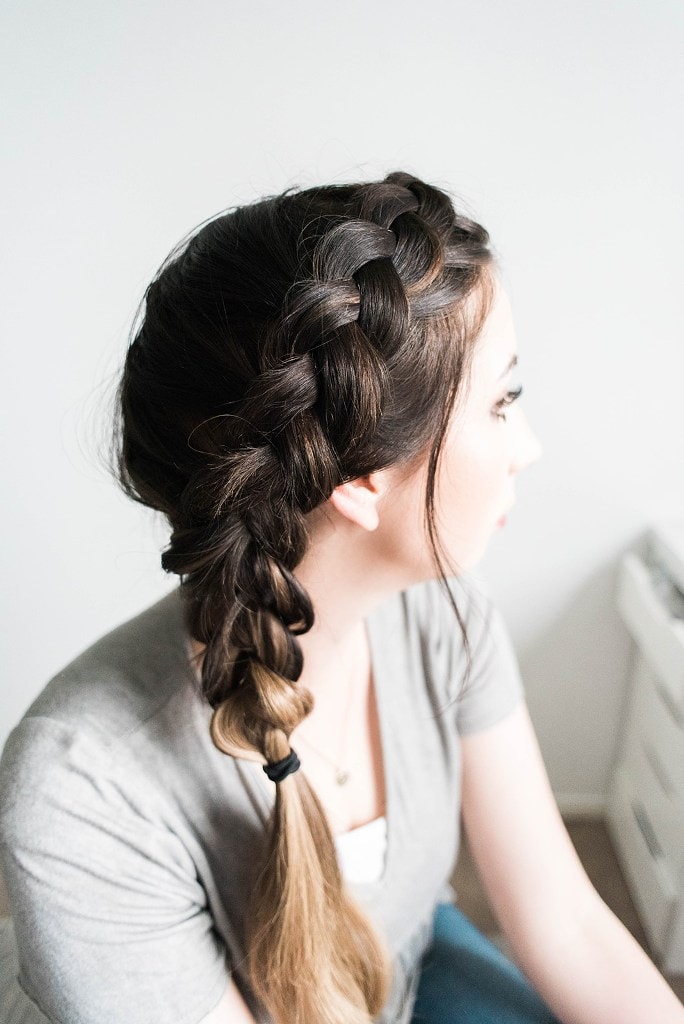
Step 5: Pull The Braid To Make It Look Fuller
Now you are with the two Dutch braids. To make the braids look fuller, pull each section of the Braid gently with your fingers.
And your elegant Dutch Braid hairstyle is ready. You can master the hairstyle by doing it repeatedly until you get the perfect Braid.
Dutch braids offer a great impact while not actually taking a lot of time if you properly follow the above steps. The only fundamental thing to take care that your hair is in the right condition, and you might end up spending more time pulling off a braid when you’re braiding the hair. These braid hairstyles tend to pull on your hair and scalp, ensuring a healthy scalp and beautiful hairstyle. Hence, it is always recommended to use shampoo before actually starting with dutch braid.
Quick Tips to adorn Dutch Braid
You can customize your braid by attaching some pearls or sparkling beads to the dutch braid to give a more adorning look. Tighten the braid using a hairband or add some natural flowers to give a traditional look to your braid. You can make a Dutch braid as a headband for trying a new variety look for the day and can also include all your hair for the braid. For how long can I keep the Braid?You can keep the Braid for one day. It is a really easy and quick hairdo, so you can do it daily. It is not a hairstyle which you can keep for more than 3 to 4 days.
How much time is required to do Dutch Braid?It requires half an hour for an intermediate person to do it, whereas a professional hairstylist can do it in 10-15 minutes. You can reduce the time by practicing it, as its a quick hairstyle.
Can I add a hair extension to the Braid?Yes, you can add hair extensions if your hair is short. You will have to embed the extension in your Braid at the start. Then braid the hair with the extension.
What hair is suitable for doing Dutch Braid?It is considered that a Dutch braid looks best on lengthy to medium wavy hair irrespective of thin or straight hair. You can easily curl your hair at home by using a curling iron at your convenience instantly or use any natural method to do the same. People who do not prefer using heat on hair to curl can try the sock bun method, where all you have to do is slightly dampen your hair and sperate them into sections to achieve natural curls. As the sections would be smaller, the curls would be tighter and long-lasting. Now, set the sock at the top of your hair and begin rolling it till you reach the point from where you need the curls to begin. Tie it at the end altogether by keeping it overnight stiffly. You will find the hair turned into beautiful curls the next morning as soon as you remove the soak from the hair.
How to take care of braids while adding hair extensions?When adding hair extensions to braids, the important thing to note is to create long and thick in terms of more volume towards the bottom and sides of your head. If not done as above, the braids’ ends tend to look sticky, and braiding does not achieve as perfect as you desire. You should avoid clipping at the temple areas while leaving your hair down and trying to maintain most of the thickness and volume below the head.
Are Dutch Braids originated from Dutch?The Dutch and french wore pigtails traditional pinning at the top of their heads earlier. However, these flat braided hairstyles are not originated from Dutch, but all are African ones. The non-European hairstyles add extra style and vibrant texture overall, making it the best braid to try on at least once for any occasion.