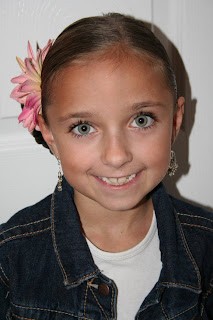
This hairstyle is great for kids, tweens, teens, or any woman. I love this ‘do!. I used this on my twinnies the day they were baptized at age eight. Since their hair was already wet, it worked great but still looked fancy.
Items Needed: Brush, comb, spray bottle, lots of bobby pins (number depends on your child’s hair), 1 rubber band, any accessories.
Time Requirement: 5-10 minutes
Skill Level: Medium

Step-By-Step Instructions:
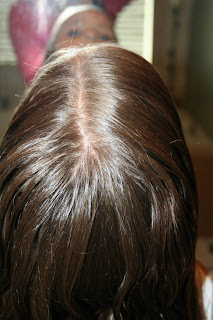
1. Begin by wetting down and brushing hair. Part hair on side.
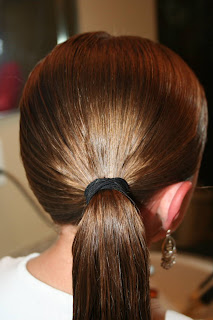
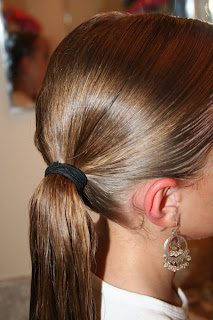
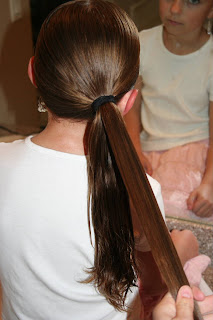
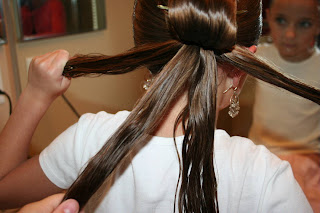
2. Pull all hair into a ponytail off to the side of head. Ponytail SHOULD NOT BE CENTERED on the back of head. It should be off center, behind opposite ear from part. So if you part on the left, put the ponytail behind the right ear. And vice-verse. (I will do two pictures– one so you can see the ponytail and one so you can see it in relation to her ear)
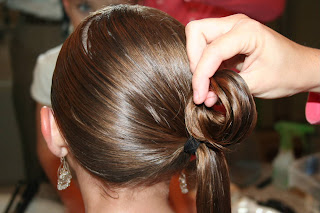
3. Once the hair is in a ponytail begin sectioning hair. You will create 5 sections total so split the hair evenly. I do the top section first. Wet down the first section a lot. (if you are worried about fine hair add some gel or pomade at this point)
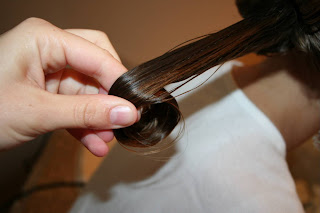
4. Begin rolling hair around your fingers. ROLL ALL HAIR AWAY FROM PONYTAIL HOLDER.
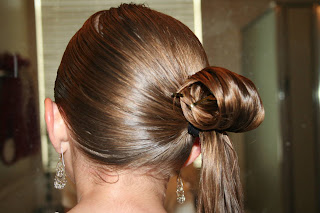
5. When you get the roll of hair right next to the head bobby pin the hair to head. Use two bobby pins, one on either side of roll to secure tightly. I have to use the huge bobby pins for my girls hair, but if your daughter has thin hair use smaller pins.
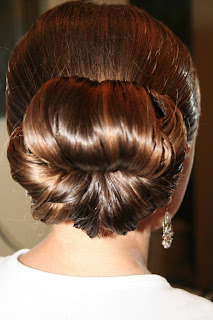
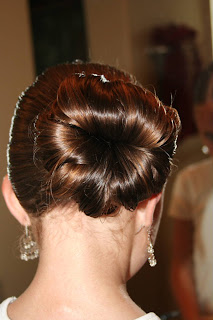
6. Continue to section off hair, wet down and gel, and roll up. Imagine a 5 point star. The roll you just did is the top point. You now need one roll on each side, and two on the bottom/diagonals. I hope that makes sense. Remember to roll AWAY (OUTWARD)from the ponytail holder.
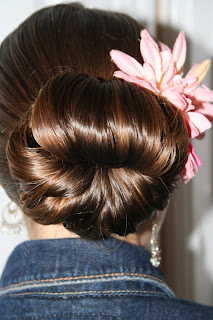
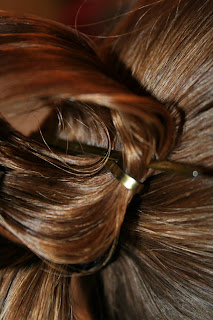
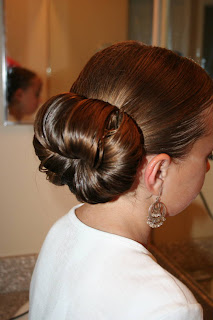
7. Continue to pin in place. After you get it pinned the hair sort of relaxes into place so you don’t see each individual roll as easily. Once you have all major rolls secured, pin any little hairs that are popping out in place with smaller pins. Spray with hairspray.
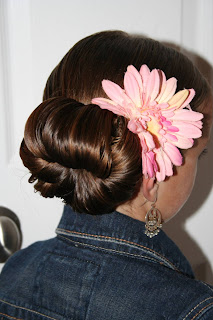
8. To make it extra cute, add a fun flower right behind ear.
If you would like to see your own photo recreations of this hairstyle featured in our app, feel free to tag your photos on IG with: #CGHTeenHairBun
Happy Hairdoing!
* Note from Mindy: Don’t forget to follow us on BlogLovin, a new easy-to-use blog reader!