Feel free to follow CGH on Instagram to see behind-the-scenes photos of our hairstyles and family!
Many fans have emailed or tagged me in photos from Pinterest and Instagram asking me to film a mermaid braid tutorial.
To be honest, I haven’t loved the style enough to film one because I didn’t particularly like how the strands pulled into the braid from the front and sides.
Thinking about it for some weeks now, it hit me that we should create a hairstyle combination using the Waterfall Twists as a base for the style… and then use the falling strands of those twists as the “add-ins” for the Mermaid Braid!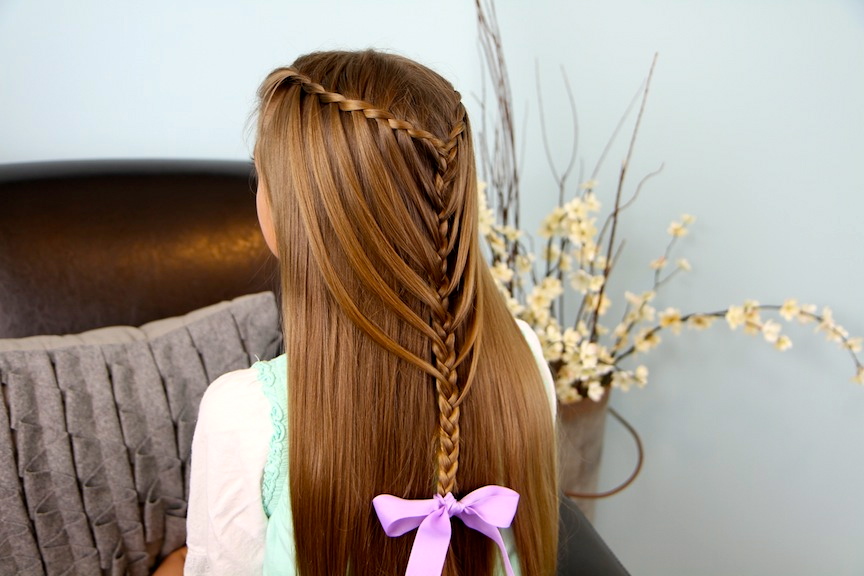
When I tried it out, as soon as I released the braid… it nearly took my breath away! We L-O-V-E-D it!!!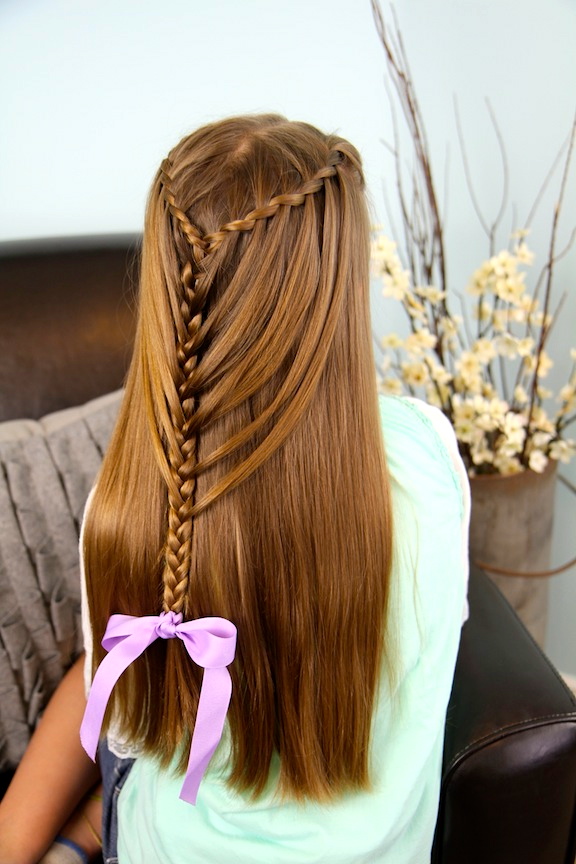
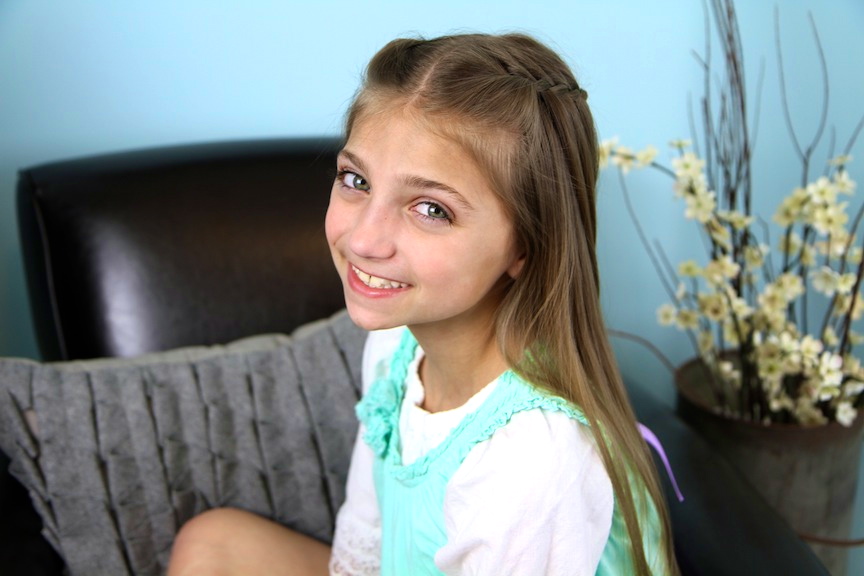
CGH#3 wanted to be my model knowing that today is Mother’s Day, and she asked to do the video introduction as well! Isn’t she adorable???

Items Needed: Brush, rat-tail comb, spray bottle, 1 small hair elastic, hairspray, and accessory {if desired}.
Time Requirement: 8-10 minutes
Skill Level: Hard
Step-by-Step Instructions:
Begin by brushing hair, and making a center part right down the head… Complete a waterfall twist on both sides of the head, beginning near the temples and ending at the back of the head… Take the ends of both twists {you should have 4 strands total} and create three strands from them {I do this by joining together two strands, one from each side, to create one strand}… Now begin a simple braid…. After one complete stitch, pick up the nearest waterfall strand {the hair running through the twist} on the left side of the head and add it into your left-most braid strand… Now pick up the nearest waterfall strand on the right side of the head and add it into your right-most braid strand… Next, complete a regular braid stitch without adding in any hair {this will space out the stranding and create the mermaid braid look}.. Repeat Steps 5-7 by adding in the waterfall strands until you run out… After all waterfall strands are included, finish the rest of the hair off into the simple braid… Secure with a hair elastic… Add any accessory or ribbon as desired.Enjoy!
Please feel free to leave a comment below and let us know what you think, and as always… feel free to share!
Happy Hairdoing!

* Note from Mindy: Google Reader will be shutting down on July 1st, so if you want to follow our blog… you can do so at BlogLovin, a new easy-to-use blog reader for women!