Be sure to see my interview with Billy Crystal and the rest of the cast of Disney-Pixar’s “Monsters University” here…
* ~ * ~ * ~ * ~ * ~ *
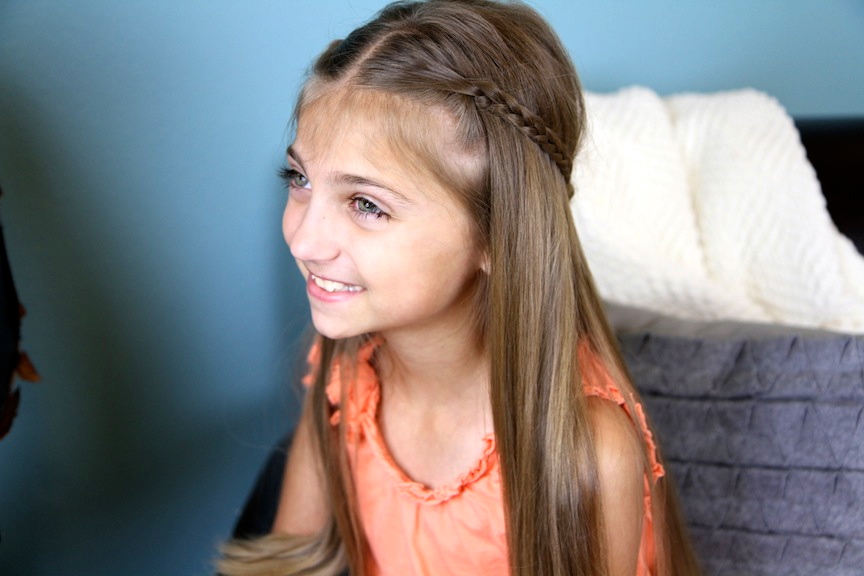
It is finally Summertime, so we wanted to share a beautiful bohemian-looking hairstyle that would be perfect for the season! This hairstyle uses the popular braided tieback, something we have shown in several variations on this website before. In this case, after the tieback… we created a super-cute braided flower to accent it.
Although we rate this style as “Hard”, all you really need to know is how to Simple Braid, how to “pancake” a simple braid {tugging out the elbows of the braid}, and the basic bobby pinning skills. The latter is what can actually make this hairstyle difficult, because pinning the flower takes practice.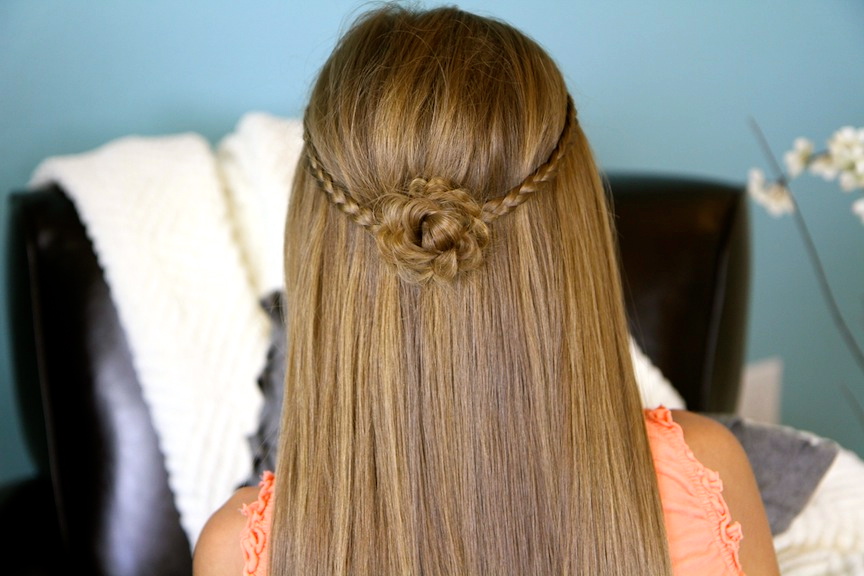
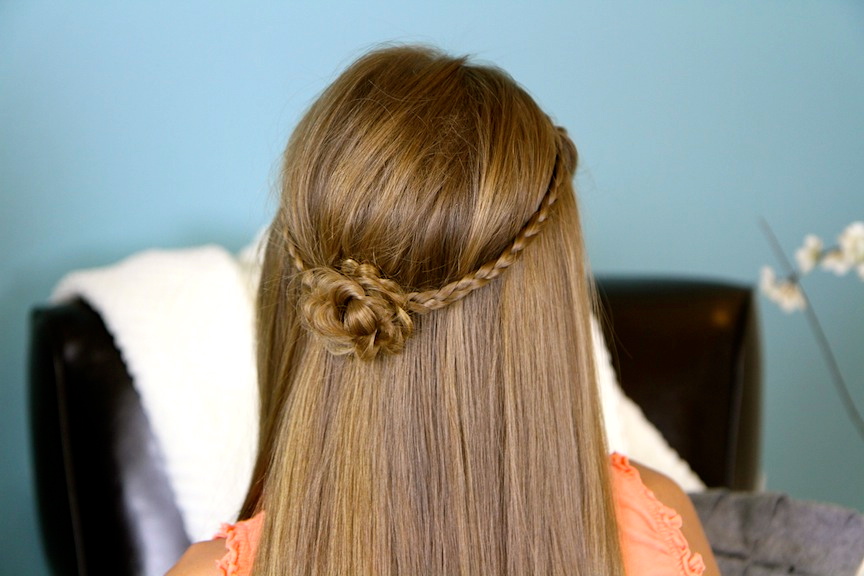
I would not recommend this hairstyle for an active day, since the flower is delicate and can fall out since it is only pinned up. I would recommend this more for a date night or a day out with friends, and I promise… you will receive many compliments on it!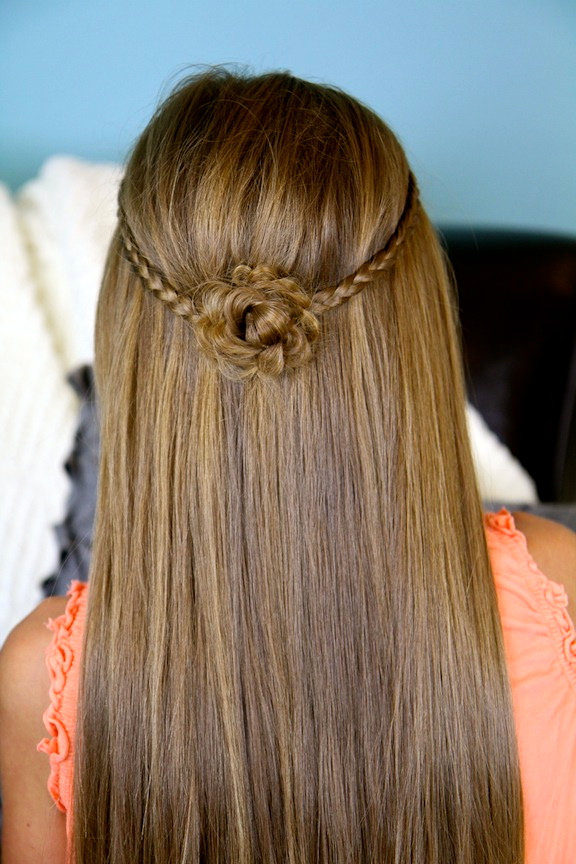
 This one is among Brooklyn and CGH#3’s favorites!
Items Needed: Brush, rat-tail comb, spray bottle, 3 small hair elastics, 2-3 bobby pins, hairspray {if desired}.
Time Requirement: 5-8 minutes
Skill Level: Hard
Step-by-Step Instructions:
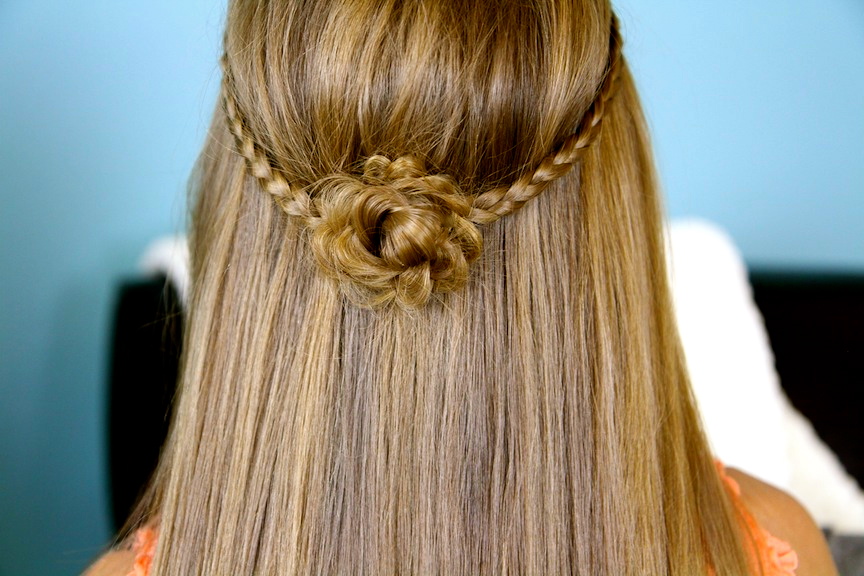
Begin by parting the hair down the middle of the head… Create a small, Simple Braid on either side of the head and secure with elastics {you will need enough braid length to reach the back of the head for the tieback}… Once both braids are finished, simply pull them to the back and secure with another elastic in the middle/back of the head… Now, cinch the braid up against the head by gently pulling the ends of the two braids apart softly…. Take the end of the rat-tail comb and gently pull out the hair right above the braids to create some added fullness and volume. Remove both elastics from the ends of the small braids, undo any remaining braiding in those strands, and combine the hair together to create one more Simple Braid… Once the single Simple Braid is complete, gently tug on the elbows on only one side of the braid {these pancaked elbows will form the petals of your flower}. Secure the braid with an elastic. If you pancaked the left side of the braid, begin by twisting the braid counter clockwise, wrapping it around the elastic in a spiral pattern like a cinnamon roll {if you pancaked the right side of the braid, reverse that process and wind the braid clockwise}… Continue to wrap the hair around and around the elastic, with each layer of hair just slightly under the previous layer. The pancaked edges should be sticking up to create the petals of a a flower-shaped accent… When the flower is finished, take a couple of small bobby pins and gently secure the flower in place. Make sure both elastics are hidden.If you loved this hairstyle, please feel free to share it!
Happy Hairdoing!

* Note from Mindy: Google Reader will be shutting down on July 1st, so if you want to follow our blog… you can do so at BlogLovin, a new easy-to-use blog reader for women!
Also, feel free to watch my twins’ cute DIY Summer Flip-Flops Tutorial…