Now that you have had a few days to try out the French Braid, I would like to add to your knowledge. I had a sweet mother send me some pictures today of the french braids on her daughter. She did a fantastic job on the braids, especially as she stated that she was a beginner french braider. She had a great variation of the French Braid, with a difference I will explain.
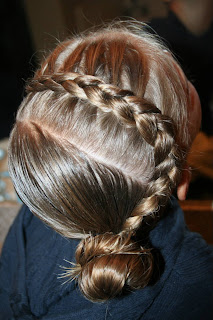
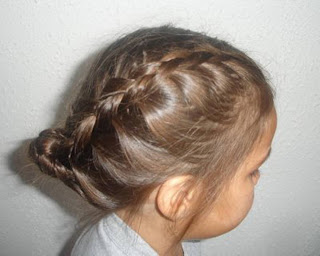
There are two types of basic French Braids. The first is your very traditional french braid as seen in my previous tutorial. The second braid is EXACTLY the same except for one small deviation in braiding. By implementing this one change, you get a french braid that pops out of the hair. I call them Outtie French Braids (also known as Reverse French Braid), and the photos above are one from my daughter and another from the dear mother who wrote me today.
So here is how to reverse the braid to an “outtie” braid:
*Note* You will understand this better if you have already watched the video tutorial on the last post.
When French braiding, I refer to the stranding of pieces A, B, and C. Piece B is always the middle piece and A & C alternate switching places with B (with A or C always coming over the top of B) as you braid down. Again, if you are confused watch the video. To create the outtie French braid, A & C alternate switching places with B (with A or C always coming under strand B) as you braid down. Get it? Sorry if that is confusing.
That simple change causes the hair to pop out quite dramatically and actually looks really fun, sort of like corn rows. Also don’t forget that French braids are great the next day if you just brush them out and leave the hair wavy as seen on my “Second Day Do’s“.
A quick comparison:
An “Innie” French Braid: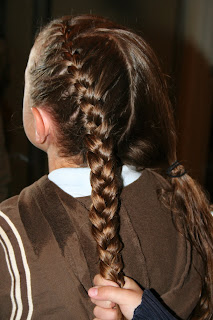 An “Outie” French Braid:
Happy Hairdoing!
* Note from Mindy: Don’t forget to follow us on BlogLovin, a new easy-to-use blog reader!