We get asked for short hairstyles so often, that we decided to film one for you all this week.
{One problem for our lack of shorty styles on CGH is that without extra hair, many of our hairstyles may not work on short hair. We also only have one daughter, Rylan, with short hair, and she doesn’t particularly enjoy her hair being done as much as the other girls. We have to respect that.}
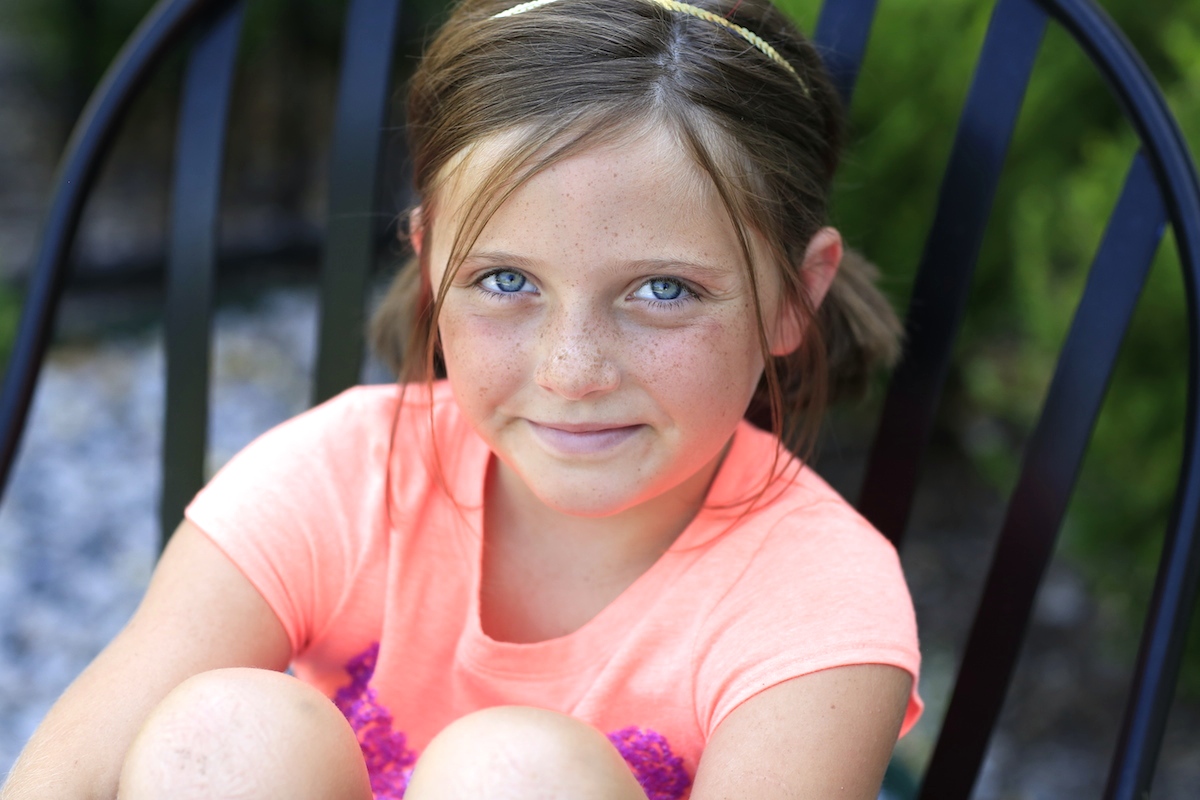
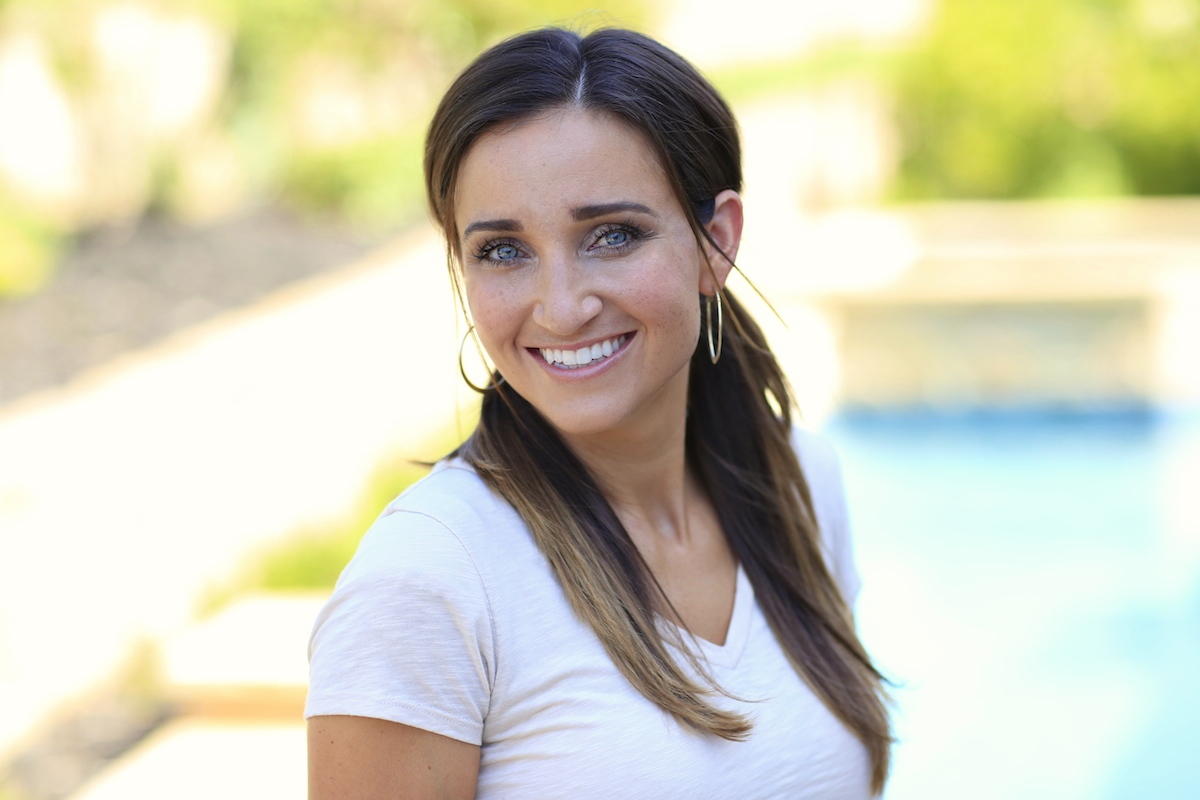
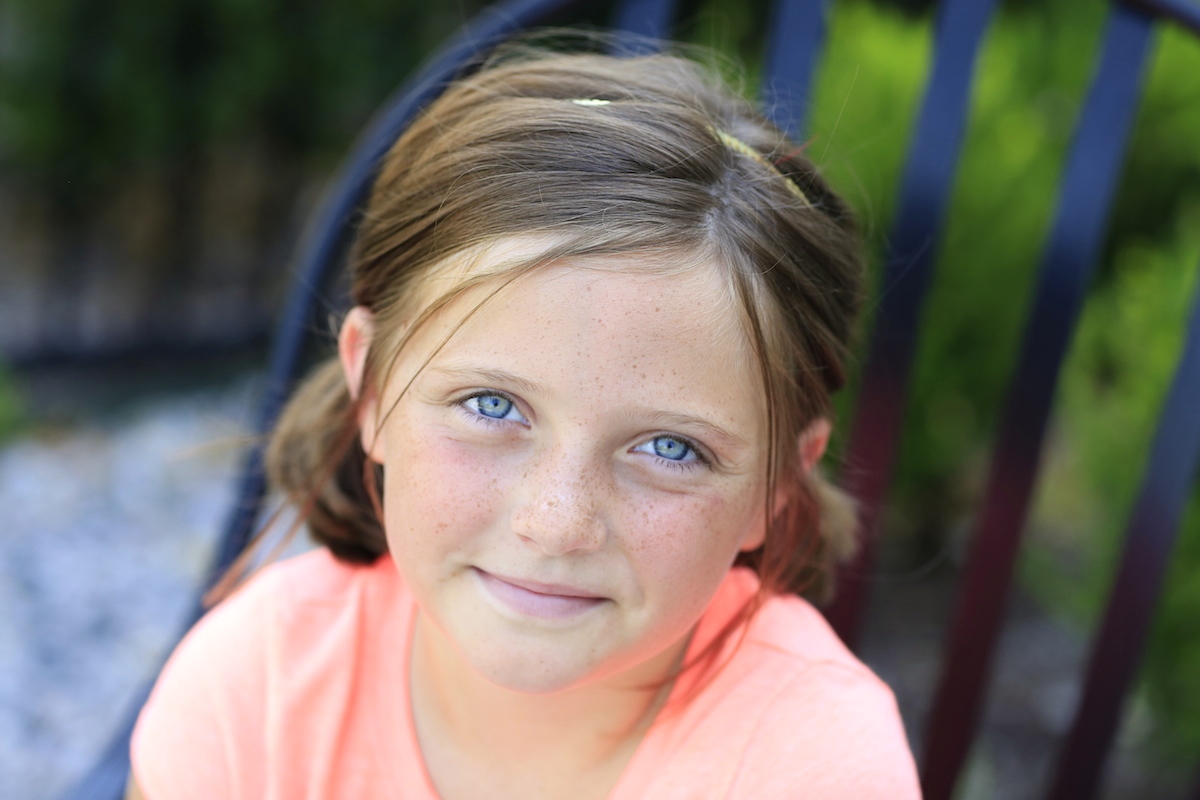
We cut Rylan’s hair about four months ago, and she hasn’t appeared in any tutorials since then. Though she was never a first for volunteering to film, Rylan did actually volunteer after I made this adorable hairstyle on myself!
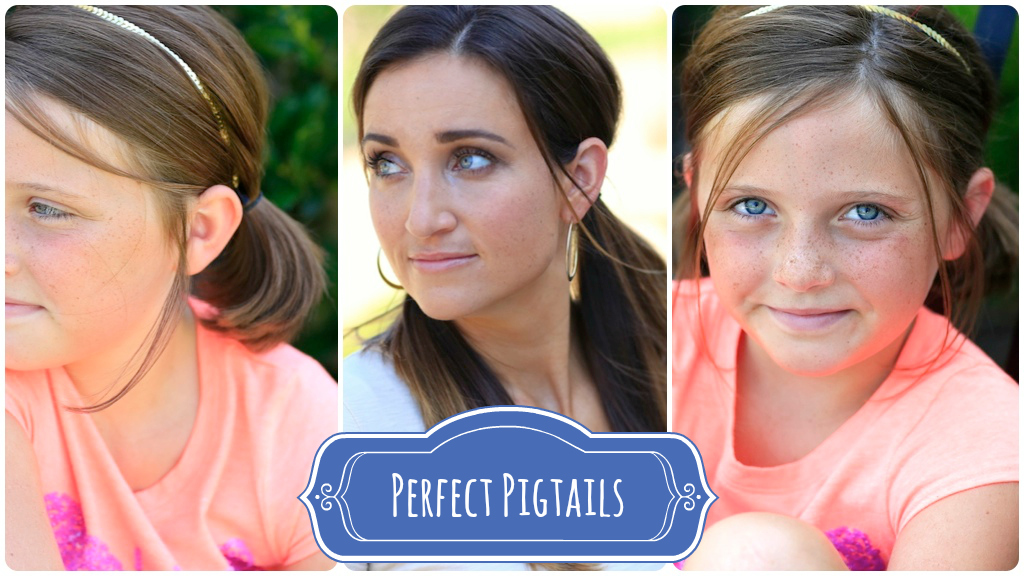
Today we are going to show you how to Create Perfect Pigtails!
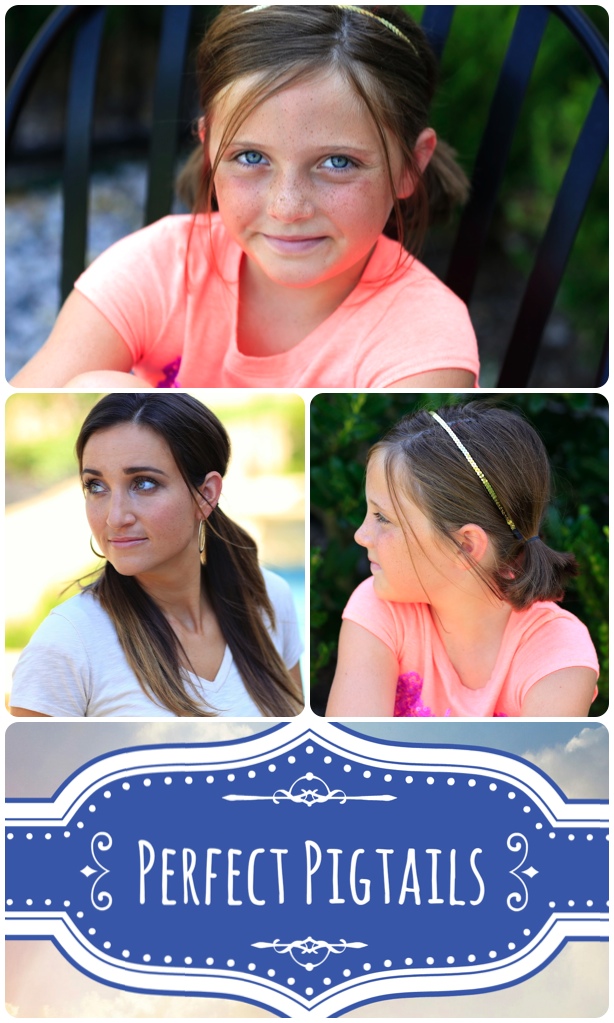
Contrary to what some may think, pigtails are not just for little girls. I have been wearing pigtails for years, and I get compliments on them all the time. Some may say that they are for younger girls, but I love them. My girls love them.
There are a few tricks I have learned, that I will teach you today, that will help you get a more beautiful, mature look to this everyday style!
To have your own recreations of this hairstyle appear in our CGH App, feel free to tag your own photos of this hairstyle with: #CGHPerfectPigtails

This technique works wonderfully with straight or curly hair, short hair or long hair. In fact, adding subtle curls to the pigtails on Day 2 is different enough, but equally as beautiful!
Enjoy!
Items Needed: Brush, rat-tail comb, spray bottle, 2 small hair elastics, hairspray and accessory {if desired}.
Time Requirement: 3-5 minutes
Skill Level: Easy
Step-by-Step Instructions:
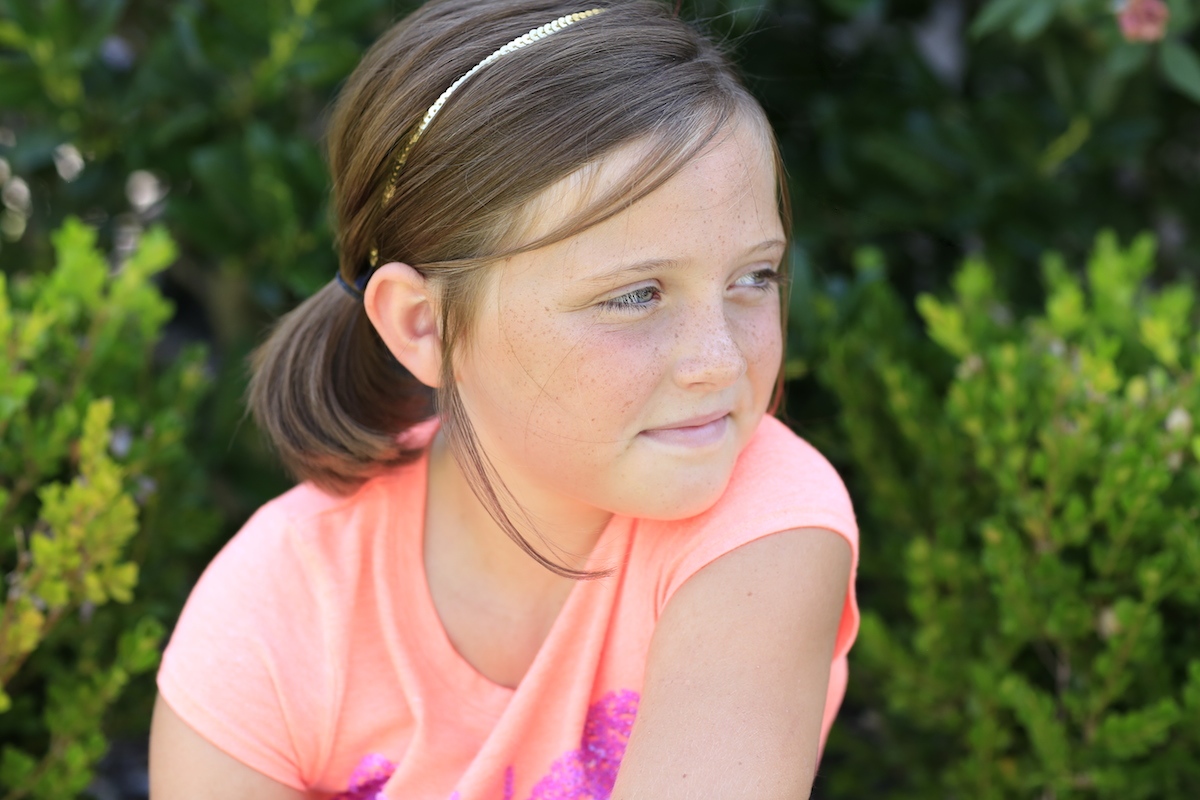
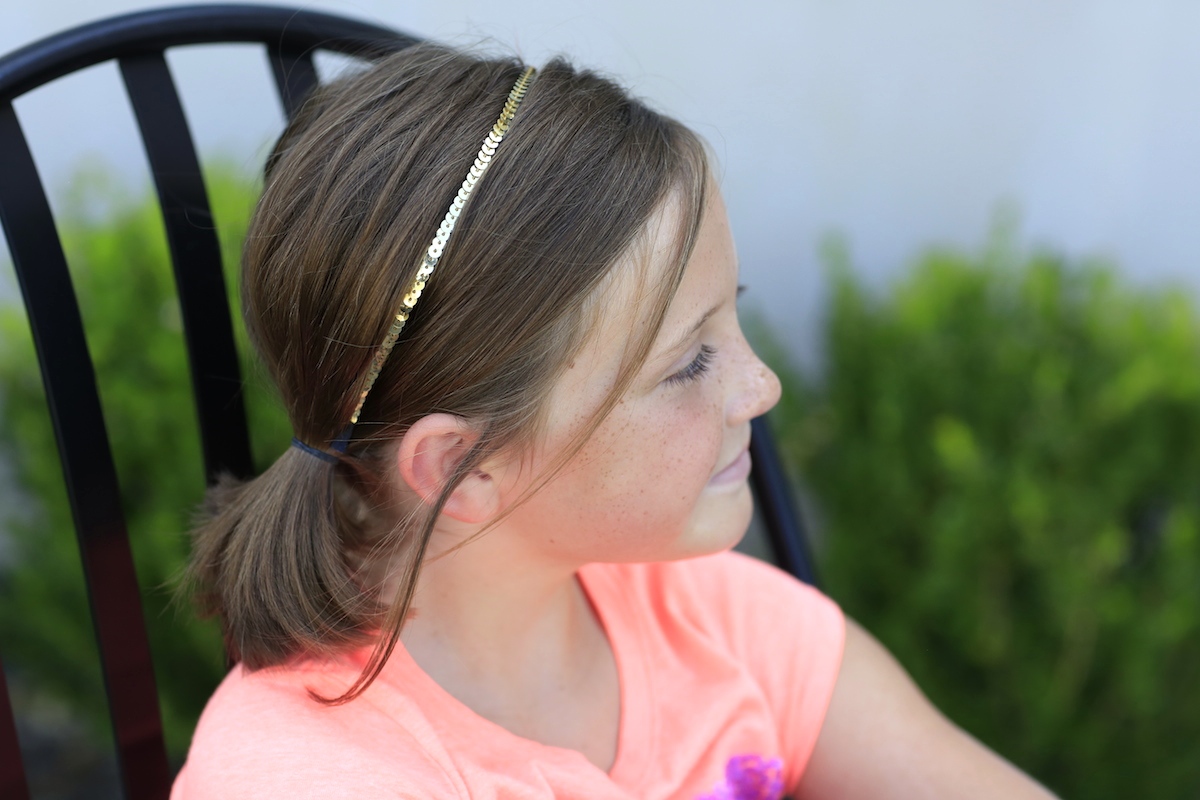
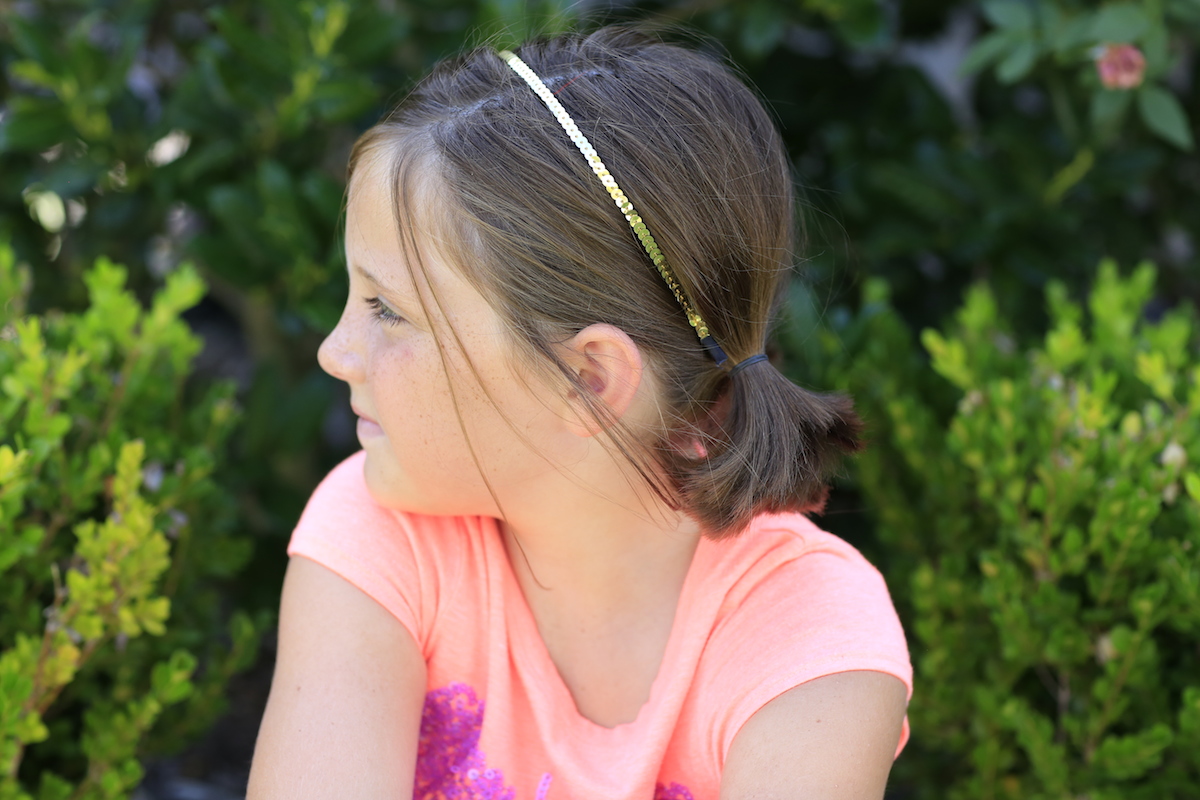
Begin by parting the hair off to one side in the front {whichever side you favor}… With the front part offset, now part into two even sections, directly down the back {yes we only wanted the front part offset}… Pull one section of hair out of way for now by securing it with an elastic… Now, on the side you will work on first, take a small top section and flip it over to other side of head out of the way… Now begin to tease the hair gently with a rat-tail comb {I usually only tease in a few areas near the top of the head for added volume. You can tease a lot or a little depending on your preference}… Make sure that when teasing, you run the comb only in a downward motion along the hair shaft. Not up, down, up, down, etc. Now bring the top, flipped section back over and use it to hide any teasing you created {you do this by gently running the comb over just the surface to smooth things out}… Pull out a few wispy strands in the front, near the ear and eye brow, to frame the face and soften the look {If you have really short hair, feel free to pull more hair out around near the ear area}… Then, swoop the hair back and carefully gather it right behind ear, and secure with an elastic… To make the style look more mature, feel free to tug up on a few sections above the elastic, above the teasing, to add a volume/bump {Your pigtails should be full and fun, not flat and boring}… Repeat Steps #4-10 on the other side of the head. Spritz with hairspray {if desired}… Add any ribbons, bows, headbands, or other accessories to your liking {also if desired}.Please feel free to leave a comment below letting us know what you think of these pigtails! Would you wear them?
Happy Hairstyling!

My girls are huge readers, and have been ever since they were four! This week they uploaded a book review to their BrooklynAndBailey YouTube channel! They review both “It All Started With an Apple“, by Ashley Winters, and “Defy” Sarah B. Larson! To see the review, feel free to click below: