*Note from Mindy: Congratulations to Misty on being our November Hairdoer of the Month! My girls really loved this one… especially the “shout” part! I apologize for posting this late, since we had the cold and flu bugs running rampant at home while my husband was in Miami on business. Thanks for your patience! If you love the hairdo, let Misty know! Here is her introduction: * ~ * ~ * ~ * ~ * ~ *
Hi! My name is Misty and I am a mom to one daughter and three sons on earth (and 1 angel girl in heaven). I LOVE to do hair and have been privileged to do my niece’s hair for proms and for weddings. I was suppose to go to cosmetology school but followed my now husband to his college! We have been married for 12 years now. I hope you enjoy!
 Items Needed: Comb, 6 small rubber bands, 1 big rubber band, and bobby pins if you do the curled style.
Time Requirement: 10 to 20 minutes, depending on final desired look.
Skill Level: Easy
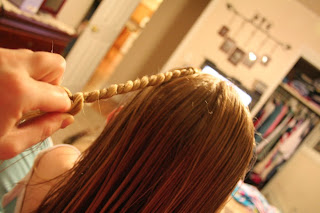
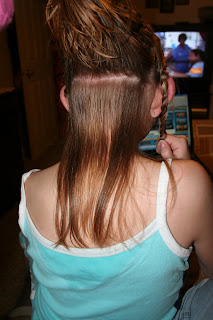
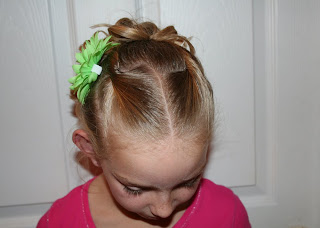
I start with wet hair. Start by parting your daughter’s hair down the middle. Pick up the right side and split it in to 2 pieces, then twist them together…
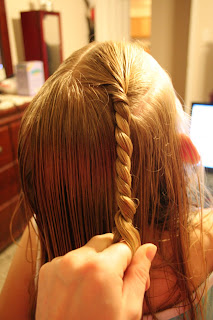 Now on this step I put a small rubber band on the end and then have my daughter hold it, just an extra step to keep it twisted better…
 Now repeat on left side…
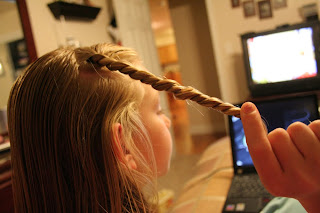
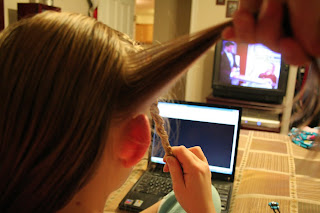
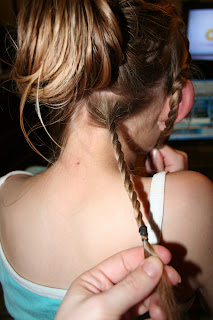
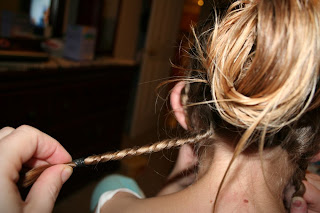
 Then grab a piece of hair on the right side by her ear and twist it:
 Now repeat on left side…

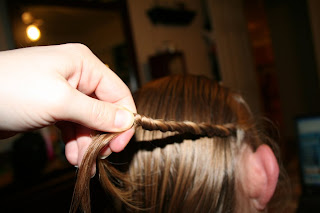
Now gather the hair up (in the middle) and part a strip along the bottom and leave it out…
 Put the extra hair in a rubber band to keep it out of the way for now…
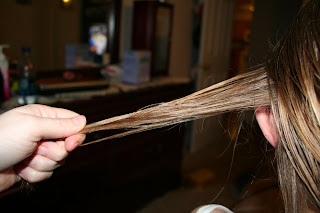
 Now split the bottom hair in to two pieces:
 And now twist each of them:
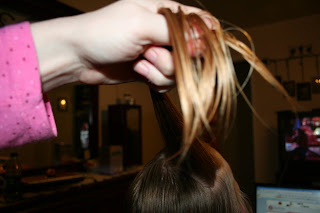
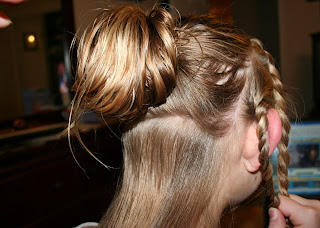
 Now take the extra hair in the middle out of the rubber band and gather it into a ponytail…
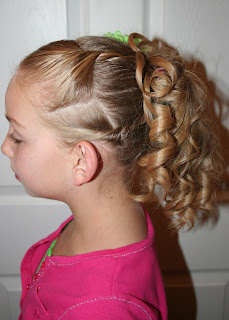
 Add the twists to the ponytail and secure with a large rubber band…
 Now at this point, you can do one of any three different things, you choose!
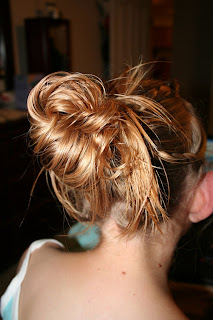
1) A messy bun:
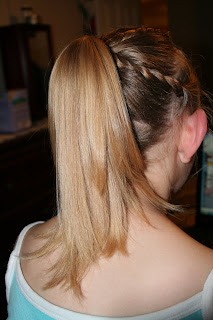
 2) A ponytail:
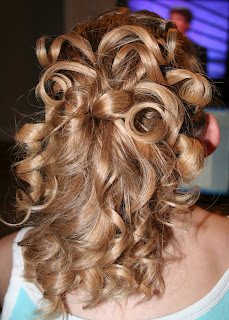
 3) Or take the hair and curl it into ringlets:

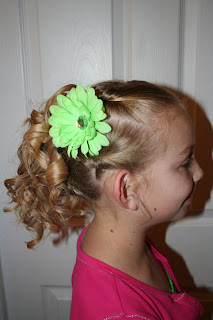
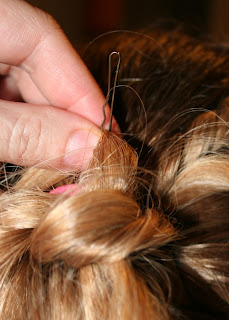
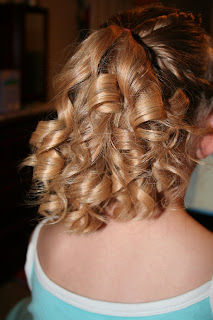 After I curl it I take some bobby pins and move some of the curls around and place them where I want them. I feel this just gives a little more of a dressy look.
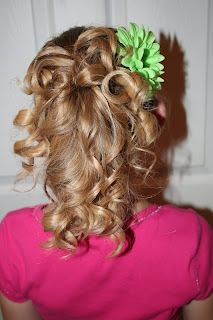
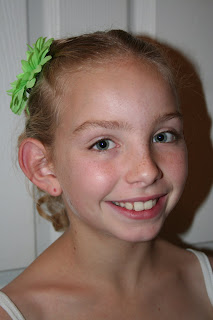
 I finish it off with a flower! And Ta-DA! You have the Twist and Shout!

Happy Hairdoing!
* Note from Mindy: Don’t forget to follow us on BlogLovin, a new easy-to-use blog reader!