Note from Mindy: Don’t forget to see BrooklynAndBailey‘s recap of the 2013 Radio Disney Music Awards, and enter their first giveaway… OPI Minnie “Minis” nail polish!
* ~ * ~ * ~ * ~ * ~ *
I know that Fishtail Braids are all the rage these days, especially any that are variations of the original fishtail braid.
Recently, we have found photos on Pinterest of this cute Reverse Fishtail hairstyle, but we did not know how to recreate one. {I also just found out that Princess Hairstyles has a good tutorial on a French version of this braid.}
As you know, the stitches on a standard Fishtail Braid have a distinct “v” herringbone pattern.
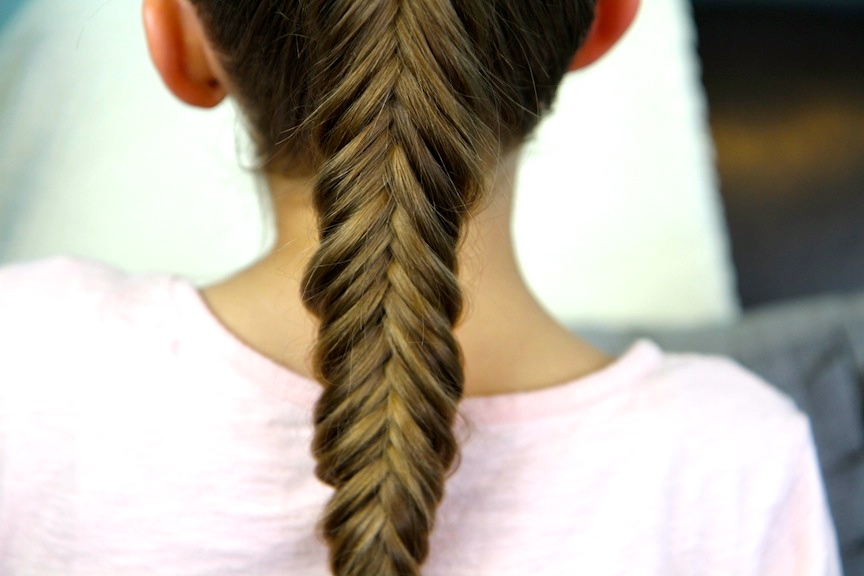
Well, a Reverse {or Inverse} Fishtail Braid has an inverted “^” pattern which is very different than what you see around.
I spent a few hours a week or so ago perfecting this hairstyle on my mannequin head, and as I completed the first five stitches or so, it seemed like I was doing something wrong! Just as I figured on giving up, all of the sudden… the braid popped out perfectly! A beautiful inverse herringbone pattern!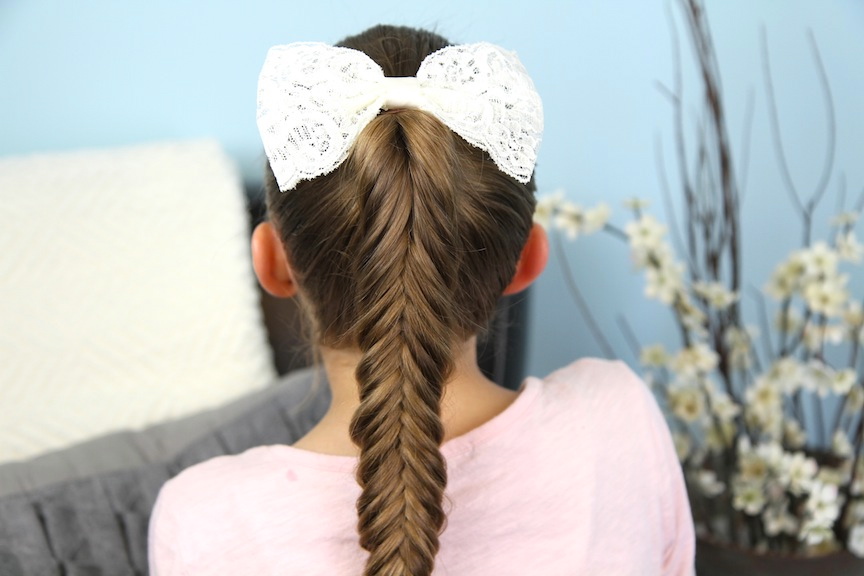
I then recreated it on CGH#3 that day, and had her go show it to Bailey, her older sister. Bailey quickly asked… “How did you do that? I want to learn it!” So, last week, we were pretty much wearing reverse fishtail braids every day!

Hope you enjoy, and if you do… please feel free to share!
Items Needed: Brush, rat-tail comb, spray bottle, 1 hair band, 1 small hair elastic, hairspray and accessory {if desired}.
Time Requirement: 5-8 minutes
Skill Level: Medium
Step-by-Step Instructions:
Begin by combing all the hair into a high ponytail or desired location of the fishtail and secure with a hair band {I sprayed the hair with water first, to make the ponytail clean and crisp}… Separate the ponytail into two equal sections… Take a small sliver of hair from the outside edge of the right section, and take it behind the rest of that same section and combine it into the inside edge of the left section {in a regular fishtail braid, you would go over the section of hair, and not under}… Now take a small sliver of hair from the outside edge of the left section, and take it behind the rest of that section, and combine it into the inside edge of the right section {simply the opposite of Step #3}… Continue Steps 3 & 4 over and over again until you run out of hair… When you get to the end of your braid, secure it with a hair elastic. You may tug on the edges of the braid to soften the fishtail, and create a more romantic look, if desired. Add any desired hair accessory {such as a bow, ribbon or clip} to finish it off.If you liked this, you may very well love our other Fishtail Braid tutorials!
Please feel free to leave a comment below and let us know what you think, and as always… feel free to share!
Happy Hairdoing!

* Note from Mindy: Google Reader will be shutting down on July 1st, so if you want to follow our blog… you can do so at BlogLovin, a new easy-to-use blog reader for women!