You all know that we absolutely adore Lace Braids in our home!
A little over a year ago, a fan emailed us the lace braid ponytail photo that had been circulating on Pinterest and we filmed a tutorial on CGH#3 at that time. The video ended up being super long, lace braiding all the way around, and since we had just bought a new camera, the lighting was pretty awful, too. So, we decided to re-film the hairstyle a few weeks ago, before we moved to Texas.
When we filmed the hairstyle, Brooklyn and I decided to find a shortcut to shorten the braid time without sacrificing the look of the spiral braid.
 If you love this hairstyle, please feel free to Pin it!
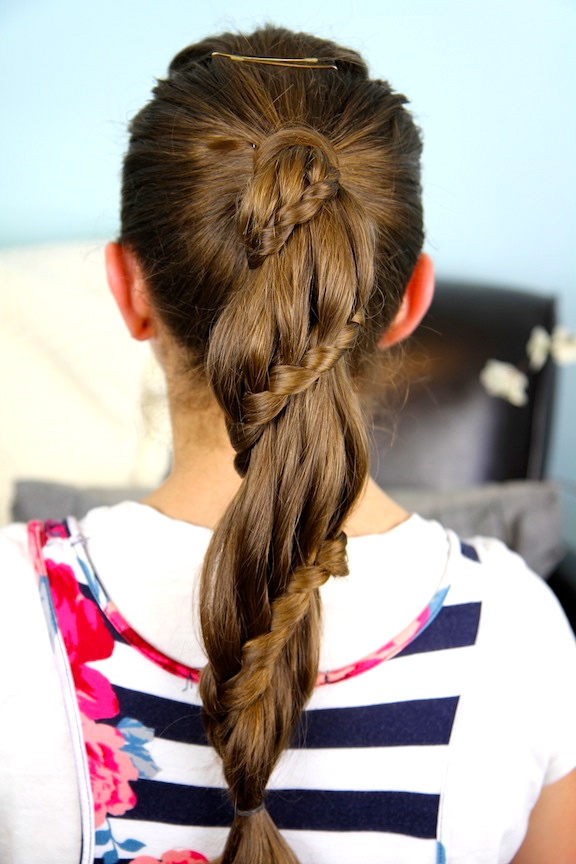
The key is that you do not actually Lace Braid all the way down the ponytail.
Every time the braid wraps under the ponytail, I simply did 3-4 stitches of a regular braid and then wrapped it around behind, picking back up with the Lace Braid on the other side! You can’t tell the difference, and it makes the braid so much easier to do!
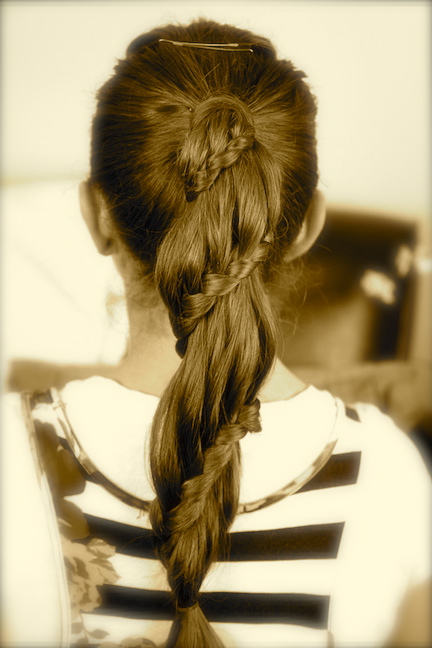
Here it is! I like it much better!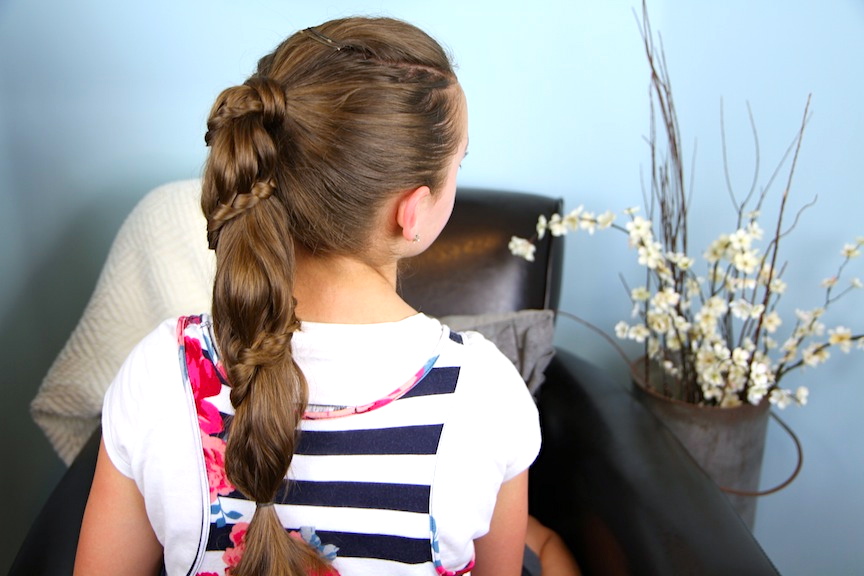
Items Needed: Brush, rat-tail comb, spray bottle, 2 bobby pins, 1 large hair band, 1 small hair elastic, hairspray {if desired}.
Time Requirement: 5 minutes
Skill Level: Medium
Step-by-Step Instructions:
Base Hairstyle: I began by doing a pompadour in the front of the hair to add a little volume… Next, gather the rest of the hair into a high ponytail and secure with a hair band… Take a small piece of hair and wrap it around the rubber band, and secure with a small bobby pin, to hide it… To begin the Winding Lace Braid: Take a small section of hair at the top right side of the ponytail and divide it into three sections… Begin using a simple braid technique by creating one stitch of a simple braid… Now, add hair into the top {left-most) strand of the braid {you will only add hair into the top strands, never the bottom – this is what forms the lace braid}… As you add hair and continue the braid, begin to move from right to left across the top of the ponytail… When you reach the other side of the ponytail, stop adding in hair and continue with 4-5 stitches of a simple braid… Now take those 4-5 stitches and wrap it under/behind the ponytail and back around to the left side. You should now be directly under where you began the braid, by about 3 inches… Begin once again to add hair into the top strands of the braid, creating another lace-braided section, as you move across the ponytail in a slightly downward angle… Repeat the processes {Steps 8-10} above when you hit the left most edge of the ponytail… Continue until you run out of hair… At the very end of the ponytail, secure the entire braid/ponytail together with a hair elastic.Enjoy!
Happy Hairdoing!

* Note from Mindy: Google Reader will be shutting down on July 1st, so if you want to follow our blog… you can do so at BlogLovin, a new easy-to-use blog reader for women!
Also, feel free to watch this room tour video my twins uploaded to their YouTube channel BrooklynAndBailey! It has been a popular one!