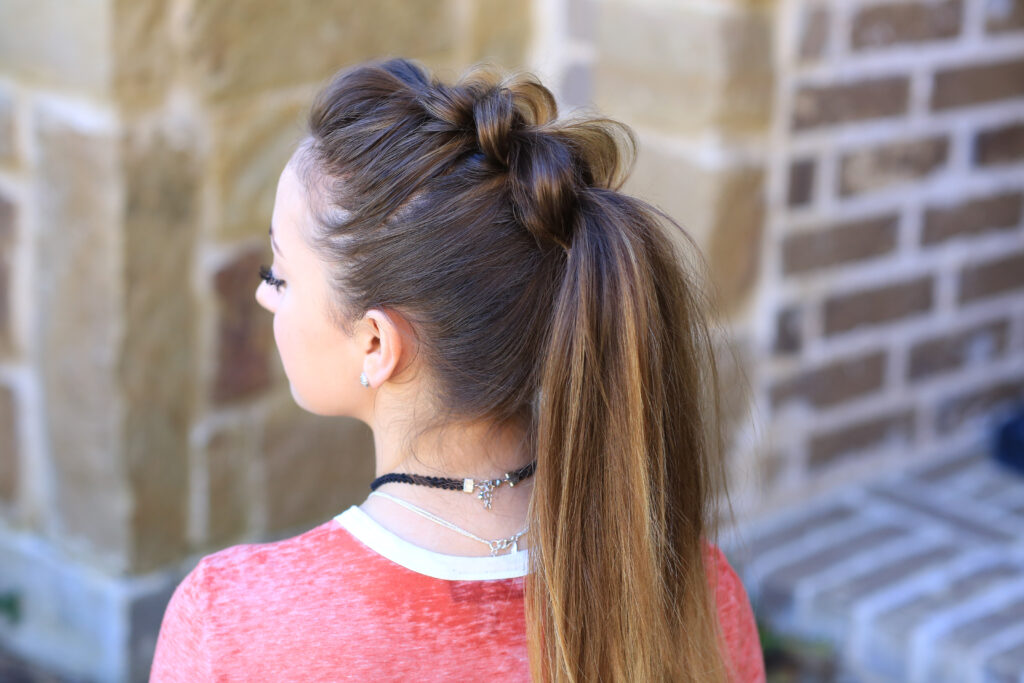
Pull-Thru Braids are very popular right now, and we have several pull-thru tutorials. This style, was inspired by my good friend Jill Ehat (http://www.instagram.com.jehat).

We really love how this pull-thru looks. It can be dressed up or down. Brooklyn has worn this several times and has received lots of lovely comments while wearing it.


To see your own photo recreations of this style featured in our app, feel free to tag your photos on IG with: #CGHPullThruPony
Items Needed: Brush, rat-tail comb, spray bottle, 1 ponytail holder, 1 small hair elastic, dry wax and hairspray {if desired}.
Time Requirement: 3-5 minutes
Skill Level: Easy
Step-By-Step Instructions
Pick up a small section of hair in the front and top of the head. Secure with a small elastic. Give the front a little tug to puff the hair a bit. Pull up sections from both sides, just under your first section, and secure with an elastic. Take the ponytail #1 & divide in two sections. Pick up ponytail #2 and hold it up and out of the work area. (Brooklyn held it for me) #1 should be in half and on either side of #2. Pick up two new sections of hair on both sides, combine with sections from #1 and secure with an elastic. (see video for more details) Split the hair from ponytail #2 and repeat the process. Pick up #3, hold out of the way. Pick up two new sections, add to hair from #2 and secure with an elastic. Hold #4 out of the way. Scoop up remaining hair into ponytail & secure with heavy elastic. (bigger section of hair needs sturdy elastic) Pull large (final ponytail) up and out of the way. Pull the two sections from #4 down & under the big ponytail and secure with small elastic. Now you go back and really pull, puff and fluff your pull out sections. I added a little teasing to my final ponytail as well to get a nice full look. Add hairspray if desiredThis week on Brooklyn & Bailey… “Pie Face Challenge” Mindy brings home a new game for the family. Watch to see who gets a pie slapped in their face!