Ever wonder how celebs go from having short hair to having a luxurious ponytail? Answer: Hair Extensions!
Although there are lots of options out on the market for actual clip-on ponytails, I like to use my regular clip in hair extensions to take my ponytail from gym to glam. Looking at the photo below you would never guess that my hair is just barely past my shoulders, right?!

Although it’s a bit of a tricky process, bare with me! It will be worth it. Just look at the before and after. What a difference!

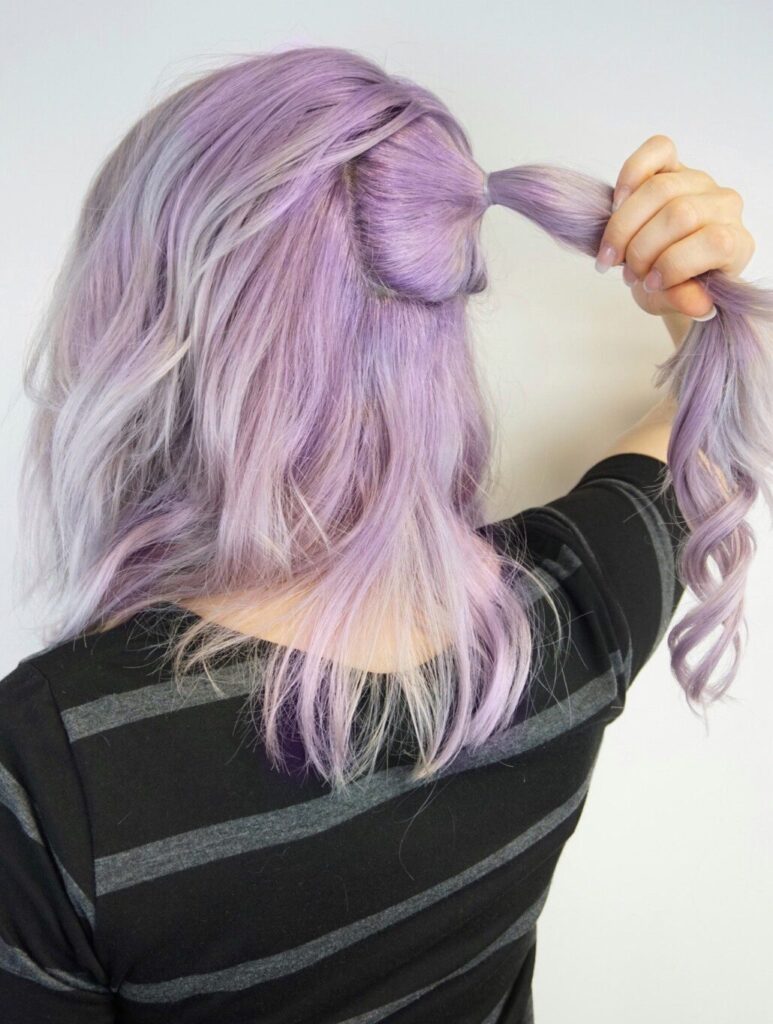
Let’s get down to business. The first step in the process is to section out a tiny ponytail in the middle of your crown area. If you want a higher ponytail, a side ponytail, or a lower ponytail, adjust the placement of your first smaller ponytail (see photo below) to the area you wish your final ponytail to be located.

Next, add a smaller clip in extension to the top and underneath side of this first ponytail.

After you’ve secured your first layer of clip in extensions, section off a perimeter of hair from around the first ponytail, add it to the original ponytail, and secure it with a new hair tie. Side note: I like to use smaller plastic hair ties for the inner ponytails, and then secure the final ponytail with a stronger hair tie.
Add another layer of clip-in extensions to this new ponytail.

Then section off another perimeter, add it to the previous ponytail, and secure it with another hair tie.

Because my hair is rather thick, I chose to add another layer of clip in extension (see photo below). However, if you have thinner hair, it is important that you not add too many layers of hair extensions in case they show through your outer layer of hair. You will need to be your own judge on how much hair to add, but since you are doing this in layers it is easy to go back to the previous step and remove a layer of clip in extensions if need be, then proceed forward.

After you’ve added in the desired amount of clip in hair extensions, gather the rest of your hair, and secure it with a final, stronger hair tie.

The final step to this process is to find some of the more obvious shorter pieces of your natural hair and wrap them around the ponytail. In my case, I have a thicker sections to wrap around, but if your hair is fine or thin you may not need to “hide” so much hair. Again, this is totally up to your discretion and how you want the final ponytail to look! Once you’ve wrapped the shorter sections around the ponytail you will need to secure them with bobby pins, making sure to aim the bobby pins directly into the rubber band.

Once you’ve mastered this layering process you can also use it for other hairstyles, such as a big beautiful bun! The possibilities are endless.


I hope you have fun playing with your new, thick, longer ponytail and bun!
For more great hair tips and tricks, check out The Hair & Makeup Girl